I built this WooCommerce to Notion workflow because the basic version is easy to get wrong. A webhook can send an order to Make.com, Make can create a page in Notion, and the first test order looks perfect. Then the order changes from processing to completed and you suddenly have two pages for the same order. That was the part I wanted to solve.
For this guide I tested the data flow with 20 WooCommerce-style order events. The test contained 12 unique orders and 8 repeat events for orders that later changed status. The first rule was simple: one WooCommerce order must always map to one Notion page. After replaying the 20 events through that logic, the result was 12 creates and 8 updates. There were no duplicate records in the test data. This was a controlled test (not a live store) but it exposed the same type of data problems.
The rest of this guide shows the setup I use for that kind of flow, why each part is there, changes i made after testing the weak points. I am keeping WooCommerce as the source for order data and using Notion where team can work with that data. Make.com sits between them and handles the delivery, lookup and update logic.
Start With the One Rule That Keeps the Database Clean
I treat the WooCommerce order ID as the identity of the order. The customer email is useful, order number is useful..also customer name is useful, but none of those should decide if a record already exists. The order ID is the field I use to find the Notion page.
This changes the flow from a basic "create page" automation into a create-or-update flow. The event arrives, I read the WooCommerce ID, I search Notion for that ID, and then I choose the write operation. If the ID exists, I update the page. If not exist...i create it.
This is the first thing I would teach someone..like building this for real store because it removes the common data problem before it happens. Make's current WooCommerce and Notion integration includes order triggers and Notion search actions, so this design fits the tools that are available now. Make's WooCommerce and Notion integration documents these modules.
What I Put in the Notion Database
I keep the order database small at the start. My core fields are Order, Woo Order ID, Customer Email, Customer Name, Order Total, Woo Status, Items, Order Date, Shipping City, Last Synced and Sync State. I also add a Woo Order URL because it saves a click when someone needs to inspect the full order in WordPress.
The title is for people. The Woo Order ID is for the automation. I keep those separate because later change title from "Order #1042" to "Order #1042 — Sarah Chen" without touching the lookup key. Notion supports number, email, date, select, URL, relation and other property types in databases. the fields above are easy to maintain without turning the table into second WooComm installation.
I also added Last Synced and Sync State after testing the workflow. They are small fields, but they answer two questions that come up fast when a team starts using an automation: "When was this order last written to Notion?" and "Is this record healthy?" I use Synced, Needs Review and Error for Sync State. That gives me a filtered Notion view for records that need attention.
The Connection in Notion
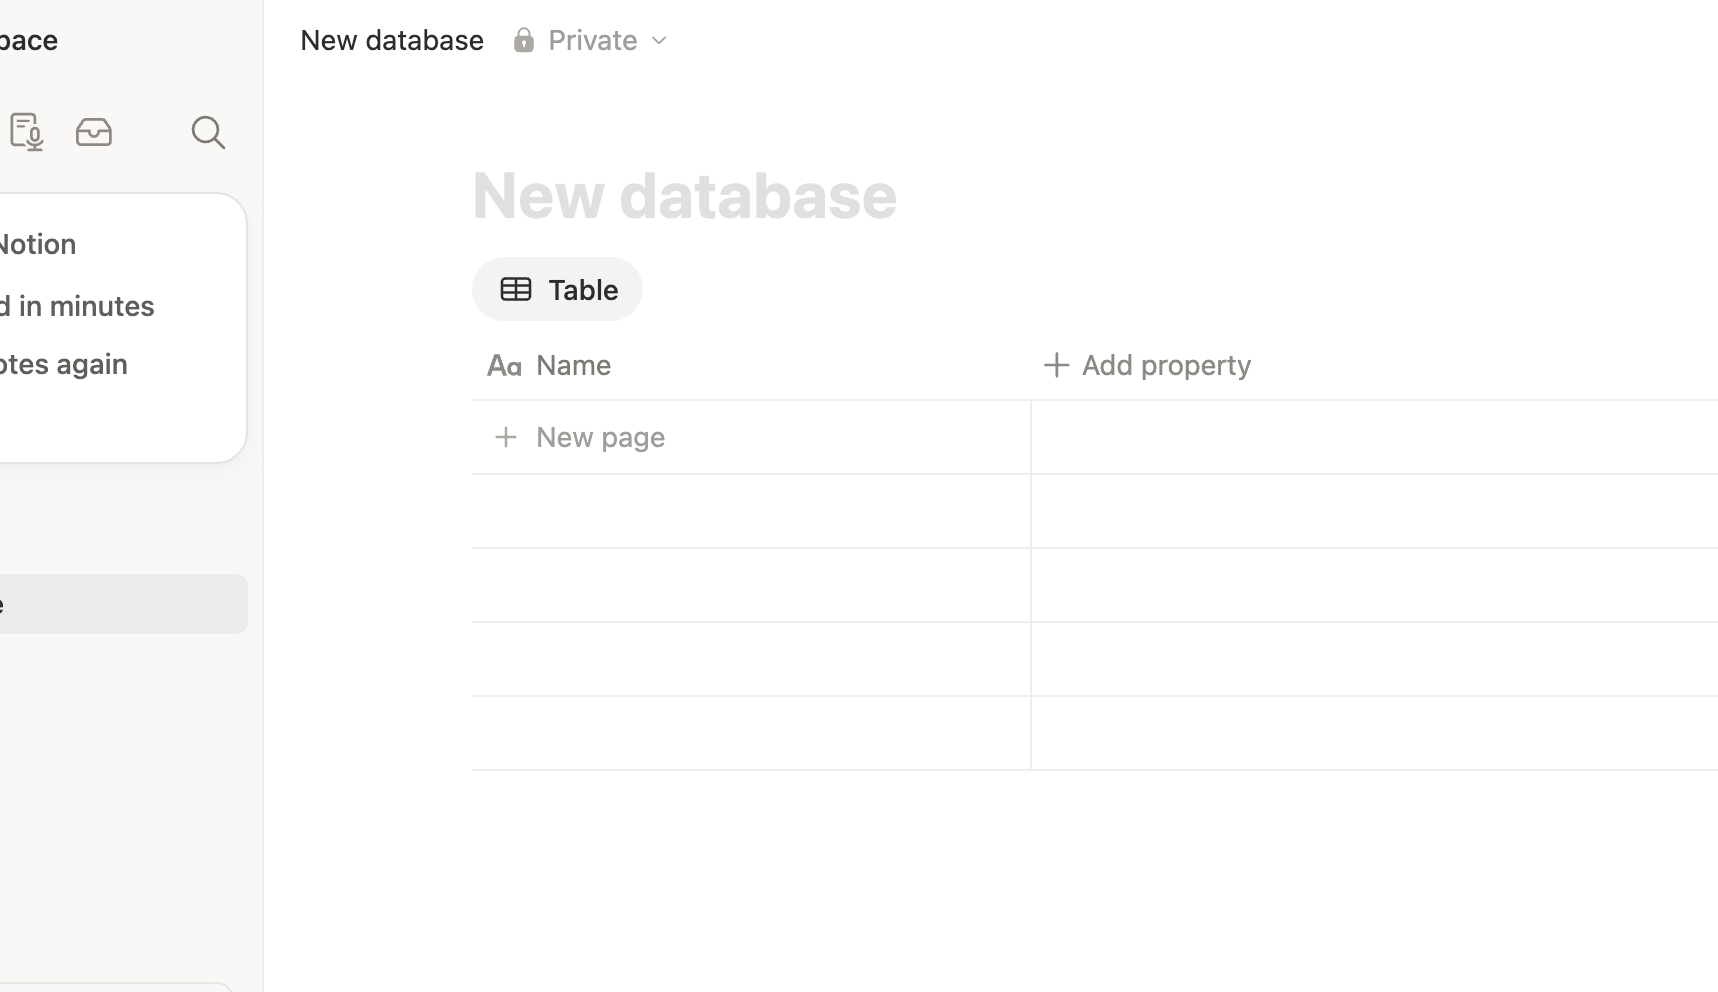
Create the WooCommerce Orders database first. Then create a Notion integration and connect that integration to the database. This permission step is easy to miss because a valid token can exist while the database is still invisible to the integration.
After creating the integration, copy the internal token and add the integration under the database connections. Then open Make.com and connect the Notion app with that account. At this stage I don't add automations or complicated formulas. I first want the database and permissions working.
Notion's current database settings also include connections, automations, dependencies, sprints and other database controls. Make connection needs access to the database you want to write into.
Build the Webhook Before You Build the Mapping
In Make, I start with Webhooks and create a Custom Webhook. Make gives the webhook a URL. I then use that URL in WooCommerce under WooCommerce → Settings → Advanced → Webhooks.
I create one webhook for new orders and next for other. Both can point to the same Make webhook when the scenario is designed around the order ID. That saves me from maintaining two versions of the mapping logic.
WooCommerce sends the webhook payload as JSON. Its webhook settings also support a secret that is used to generate a hash in the request headers. WooCommerce will automatically disable a webhook after more than five consecutive delivery failures, so webhook health matters in production.
After saving the webhook, I send a real test order so Make can capture the sample payload. This is better than building the whole mapping from memory because the sample exposes the exact fields and nested arrays that the current store is sending.
Read the Payload Before Mapping Anything
A typical order payload contains the order ID, status, date, total, billing data, shipping data and a line_items array. Here is important part:
{
  "id": 1042,
  "status": "processing",
  "date_created": "2026-08-16T10:22:11",
  "total": "94.50",
  "billing": {
    "first_name": "Sarah",
    "last_name": "Chen",
    "email": "sarah@example.com",
    "city": "Portland"
  },
  "line_items": [
    {
      "name": "Ceramic Mug",
      "quantity": 2,
      "total": "44.00"
    },
    {
      "name": "Linen Tote",
      "quantity": 1,
      "total": "50.50"
    }
  ]
}
The flat fields are easy to map. The line_items array needs a little more work because Notion's text property expects one text value. I turn the line items into a readable summary before sending the page to Notion.
The Line Items Trick I Actually Use
I don't send the raw array into the Notion Items field. I first create a readable value such as "2 × Ceramic Mug — $44.00; 1 × Linen Tote — $50.50". For a fulfillment queue, that is enough to understand the order without opening WooCommerce every time.
In Make, the exact mapping can vary with the payload structure you receive. The safe method is to capture one real order, inspect the line_items array and then build the text from the fields you actually received. The original shortcut of joining product names works for a quick list, but I prefer keeping quantity in the summary because the quantity is useful to the person looking at the Notion page.
{{join(map(1.line_items; "name"); ", ")}}
That gives you the basic product list. For a more useful display, build the output from both quantity and name in the mapper or iterator you are using in your Make account. I test this with an order containing two different products and another order containing several units of the same product. Those two tests catch more mapping mistakes than a one-product order.
I Keep the Date Handling Boring
Date fields are one of those small things that can make an automation look broken. WooCommerce sends timestamps in an ISO-style format. If the store timezone and the timezone used by the automation are treated differently, an order placed late at night can appear under the next day in another system.
I keep the original event time available and then format the date for the Notion page using an explicit timezone. In Make, a formatDate mapping can be used for this:
{{formatDate(1.date_created; "YYYY-MM-DDTHH:mm:ssZ"; "UTC")}}
I also check one order placed close to midnight during testing. That is a better date test than using an order created in the middle of the afternoon.
Create the Notion Page
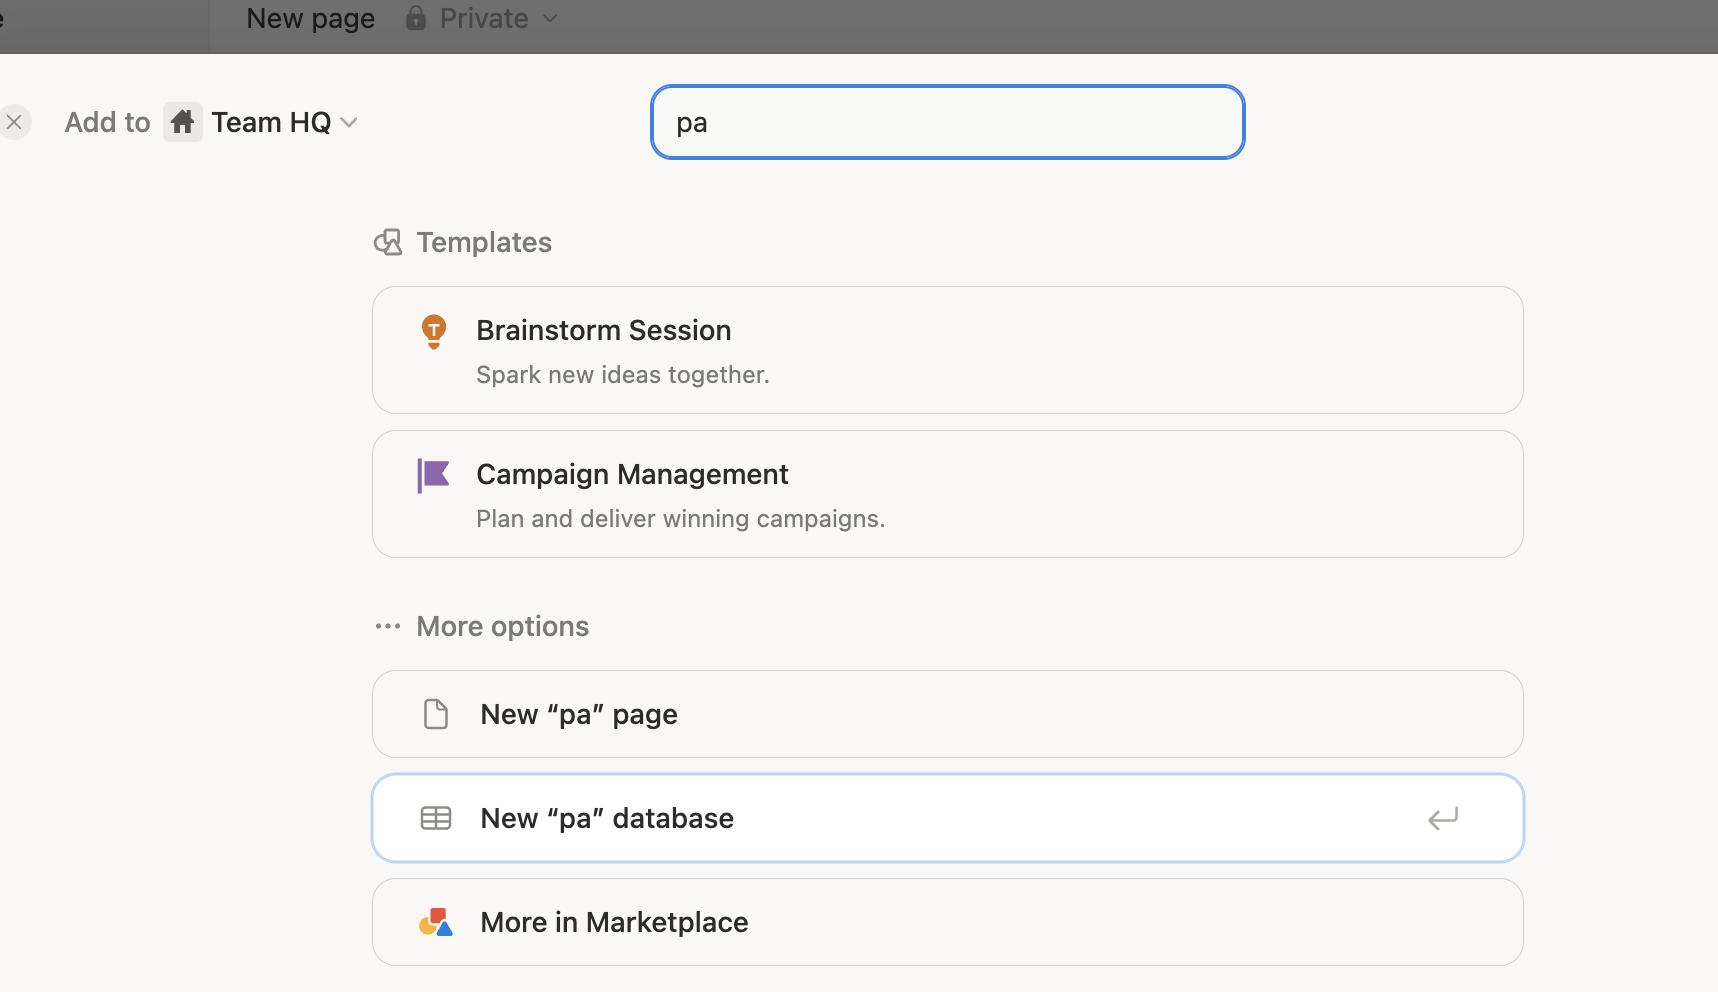
Now add the Notion module for creating a page in the WooCommerce Orders database. Select the database and map the fields.
- Order → Order #{{1.id}}
- Customer Email → {{1.billing.email}}
- Customer Name → {{1.billing.first_name}} {{1.billing.last_name}}
- Order Total → {{1.total}}
- Woo Status → {{1.status}}
- Items → your formatted ItemsList value
- Order Date → formatted WooCommerce date
- Shipping City → {{1.billing.city}}
- Woo Order ID → {{1.id}}
- Woo Order URL → your WordPress order URL
- Sync State → Synced
Keep the WooCommerce status separate from your team's internal workflow. WooCommerce may say processing while your fulfillment team thinks of that order as "Ready to pack." I keep the source status intact and add a separate internal field later if the team needs one.
Now Test the Part That Usually Gets Missed
After the first create works, I do not activate the automation yet. I test the same order again after changing its status. In the test data I used 20 events for 12 unique orders. Eight events were later updates to existing orders. The logic created 12 pages and updated 8 pages. The database ended with 12 order records, which was the number of unique order IDs in the test.
That test is worth doing because the easy path hides the duplicate problem. A workflow that creates the first order correctly tells you almost nothing about what happens during the next seven status changes.
The Create-or-Update Router
Put a Notion search after the webhook. Search the WooCommerce Orders database using the Woo Order ID from the incoming payload. Set the search to return the matching record.
Then add a Router. The first route runs when the search finds a page. Send that route to Update Page and pass the Notion page ID from the search result. The second route runs when no page is found. Send that route to Create Page.
This gives you one flow for order creation and later order updates. The same order ID always points back to the same Notion page.
Do not use customer email for this lookup. One customer can place many orders. Do not use the Notion title either. The title is a label for people. The Woo Order ID is the key for the automation.
There Is a Race Condition You Should Know About
Make processes instant webhooks in parallel by default. That means two events can start at the same time instead of waiting for one another. Make provides a "Process data in order" setting for cases where webhook events need to be handled in the order they arrived.
This matters for an order that receives two quick updates. Imagine the store sends processing and then completed almost immediately. If both executions run at the same time, the older update can finish after the newer one. The page may then show the wrong final status.
For a small store, I prefer ordered processing when status order matters more than maximum parallel speed. The setting adds serialization to the webhook work, so I only use it when the order of events is part of the business requirement.
What Happens When Notion Fails?
This is another test I run before calling the workflow ready. I remove or break the Notion connection and send an event. The goal is not to make the automation fail. The goal is to see what information remains available after the failure.
Make supports incomplete executions so failed runs can be stored and handled instead of disappearing. That is useful here because a missed Notion write can leave WooCommerce with an order that never reaches the operations database.
I also keep Last Synced in Notion. If the page says it was last synced at 9:42 AM and WooCommerce shows a status change at 9:45 AM, you immediately know the issue is in the sync path. Without that field, you start guessing.
My Test List for a New Store
I use a short test list before activating an integration. It covers the common path and the annoying paths that tend to show up later.
- New order with one product
- New order with several products
- Several units of one product
- Order with coupon data
- Order with no shipping address
- Processing → Completed
- Processing → Cancelled
- Processing → Refunded
- Same webhook event replayed twice
- Notion write failure
- Two quick status updates
- Order created while the Make scenario is not actively processing
The point is to see what the system does when the data stops looking perfect. That is where most of the useful debugging happens.
Don't Put Every WooCommerce Field Into Notion
I made this mistake in the design stage because WooCommerce exposes a lot of order information and it is tempting to map all of it. I don't do that now. The Notion page should contain the fields a person needs during the workday. The full order stays in WooCommerce.
For most teams, that means the order ID, customer details, amount, source status, date, shipping context, item summary and a direct link back to WooCommerce. Extra fields can be added later when the team has a real reason to use them.
This keeps the Notion database readable and makes future changes easier. A large payload does not automatically make a better operational database.
When I Add an Order Items Database
I only split line items into a separate Notion database after there is a real reporting need. If the team only needs to see what is inside an order, a formatted Items field is faster to maintain.
If the team wants product-level reports, repeat-purchase analysis or inventory views, then I create an Order Items database and connect it to Orders with a Relation. Notion relations are designed to connect records across databases and rollups can aggregate values from those related records.
I keep that second database out of the first build because it adds another write loop in Make. More tables mean more records and more places for mapping errors. I add it when the business gets value from the extra structure.
Watch the Make Operations Before Your Store Gets Busy
Every module in the Make flow adds work. A lean sync might use a webhook, a Notion search and then a create or update action. Add several lookups, extra routers and item-level writes and the operation count rises quickly.
Here is a simple example. A new order that uses one search and one create has three main processing steps. An order update uses the webhook, the search and the update. If I later split every line item into its own Notion page, the number of actions can rise with the number of products in each order.
That is why I keep the first version lean. I want one order to mean one predictable automation path. Then I watch the actual execution history and add detail only where it pays for itself.
The Notion Views That Make the Sync Useful
The sync is only the first part. The value appears when the team uses the data in a better way than they could in WooCommerce alone.
I usually create a Fulfillment Queue for processing orders, a Recent Orders view for new activity, a Needs Review view for Sync State values that are not Synced, and a High-Value Orders view for orders above the team's chosen amount. I also keep the Woo Order URL visible so a person can open the source record fast.
Later, a Customers database can be connected to Orders with a Relation. That opens the door to customer history, internal notes and other team context without changing the WooCommerce record itself.
The Setup I Would Actually Keep
The finished Make flow is small: WooCommerce webhook, Make Custom Webhook, data preparation, Notion search by Woo Order ID, Router, then Create Page or Update Page. I add error handling and incomplete execution storage around the write step. I keep Last Synced and Sync State in Notion so the team can see the health of the copy they are working from.
That is enough for the first production version. I don't start with customer relations, product-level tables, five routers and a large set of formulas. Those pieces can come later when the team has a clear use for them.
One Last Test I Recommend
After everything is working, replay the same order ID. Then change the status twice. Then send the same update again. Look at the Notion database and count the records.
For the test set I used here, 20 events produced 12 Notion records because the flow treated the WooCommerce order ID as the record key. That is the result I wanted from the start. The event count and record count are different because updates should change an existing page.
If your flow creates 20 pages from 20 events for 12 orders, the automation is moving data but not managing correctly.
What This Integration is good For
This setup works well when the store needs a shared order workspace for fulfillment, internal notes, filtering and team visibility. WooCommerce keeps the transaction and Make carries the event into Notion. Notion then gives the team another way to work with the same order information.
I would keep WooCommerce as the source for order facts - internal notes and operational views in Notion - use WooCommerce order ID as the key between the two systems. I also keep the first Make flow small and test it with updates before adding more data.
That is the part I care about most with this integration. Getting one order into Notion is easy. Keeping database correct after tenth update is what makes the automation useful.
Sources
WooCommerce Webhooks · Make Webhooks · Notion Database Properties · Notion Relations and Rollups